I didn't do very well last week on the healthy eating/exercise front. After a few grueling back-to-back deadlines to help save one of my favorite, and most dearly missed co-workers from back home (miss you Tif!), I was left with little time or energy to do anything other than just sleep. I didn't cook. I didn't clean. You know I'm telling the truth when I didn't even have the energy to go to the grocery store to buy food.
I snacked on salt & vinegar chips, had days where I only ate one "real" meal, and didn't do my yoga. To make matters worse, I topped the weekend off with few too many pints of beer as we celebrated our friend Jules' birthday. For his present, I just kept on the same course that I'd been on that entire week... I needed to return a pie plate he left at our place so what better to do than fill it with something yummy for his birthday! A Rice Krispie treat "pie" with dark chocolate espresso ganache :)

Photo by Quentin Isackson
I'm giving Quentin all the credit for this one; it was his idea to do the yin & yang, I just executed it.
Speaking of Rice Krispie treats, about a year and a half ago, I started an Etsy shop selling none other than, you guessed it - Rice Krispie treats. Not just your normal everyday Rice Krispie treats (but who doesn't love those?). I made flavors like; Pineapple Coconut, Dark Chocolate Ginger, Lemon Cranberry, Vietnamese Coffee... you get the picture. They're not the healthiest treats, but they sure are delicious!
Now closed, the shop had a pretty good little run, especially with the help of my friends and family (thanks guys!), but I don't think the treats would ship across the Atlantic without getting a little soggy - if you get my drift. So you know what? I'm going to post a few of the recipes here, so that whoever wants to make them can enjoy.
I was already bad this past week... what's one more sweet treat going to hurt?
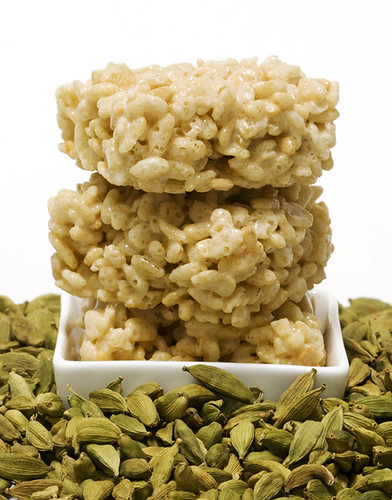
The combination of floral orange blossom and aromatic green cardamom give these treats their unique character. Sweet, with a subtle hint of citrus. You can substitute any kind of puffed rice cereal for this recipe, but the Rice Krispies brand is the best in my opinion. And since Quentin's parent's gave me a box of Rice Krispies for Christmas, it's about time to put them to good use!
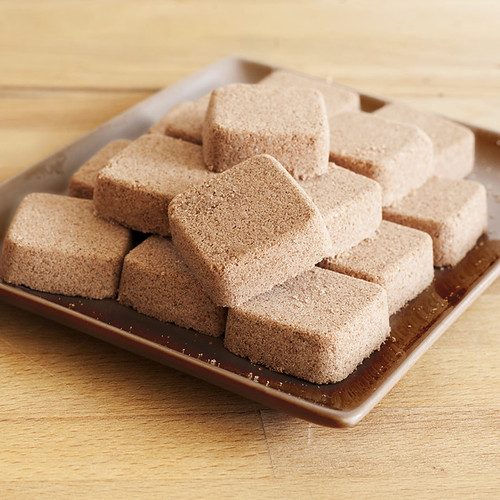
Orange Blossom Cardamom Rice Krispie Treats
3 tablespoons butter
10 oz marshmallows
6 cups Rice Krispies cereal (you can substitute any kind of puffed rice cereal)
6 cups Rice Krispies cereal (you can substitute any kind of puffed rice cereal)
2 teaspoons ground cardamom
1 teaspoon orange blossom extract
1 teaspoon vanilla extract
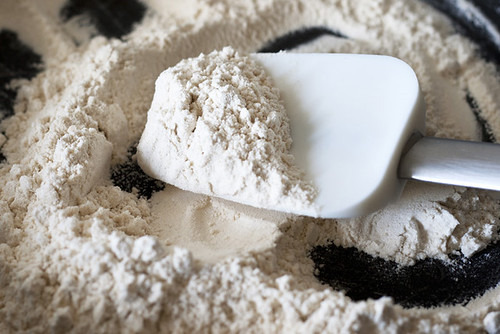
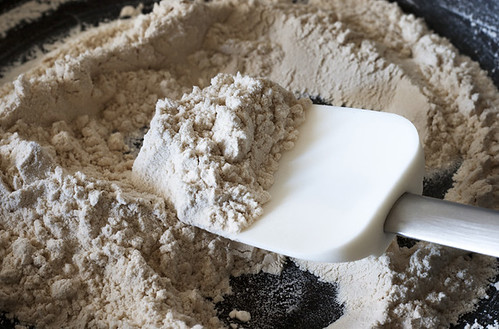
In a large non-stick pot, melt the butter over low heat. Once the butter is melted, add the marshmallows and turn the heat up to medium-low. Stir occasionally to make sure the marshmallows melt evenly. Once all of the marshmallows are melted, add the ground cardamom, orange blossom and vanilla extracts, and stir to combine.
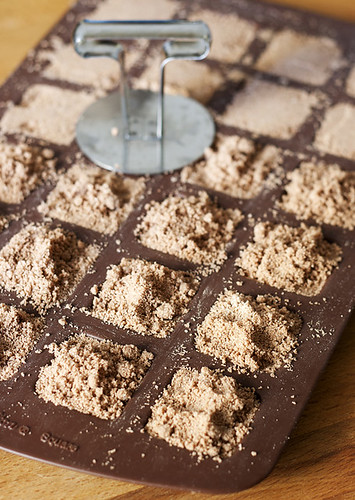
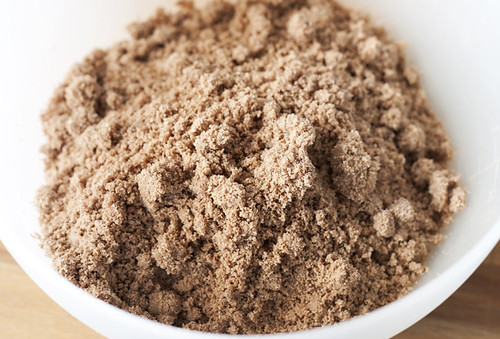
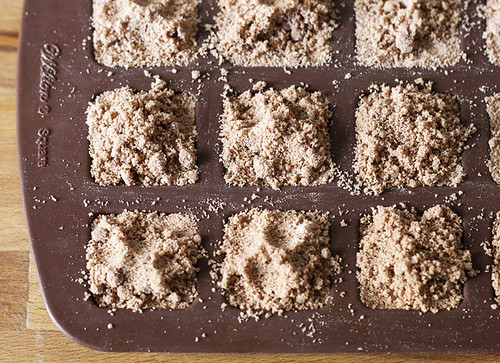
Remove from the heat and stir in the Rice Krispies cereal until completely coated with the marshmallow mixture. Transfer to a greased 9" x 13" (or similar) baking dish and smooth out with the back of a greased spatula or spoon.
Let cool and then cut into squares. Serves about 12... depending on the size of your squares. :)
After this - It's back to good-for-you food!